
Friday, March 15, 2013
Snow Days
Friday, February 15, 2013
February Post
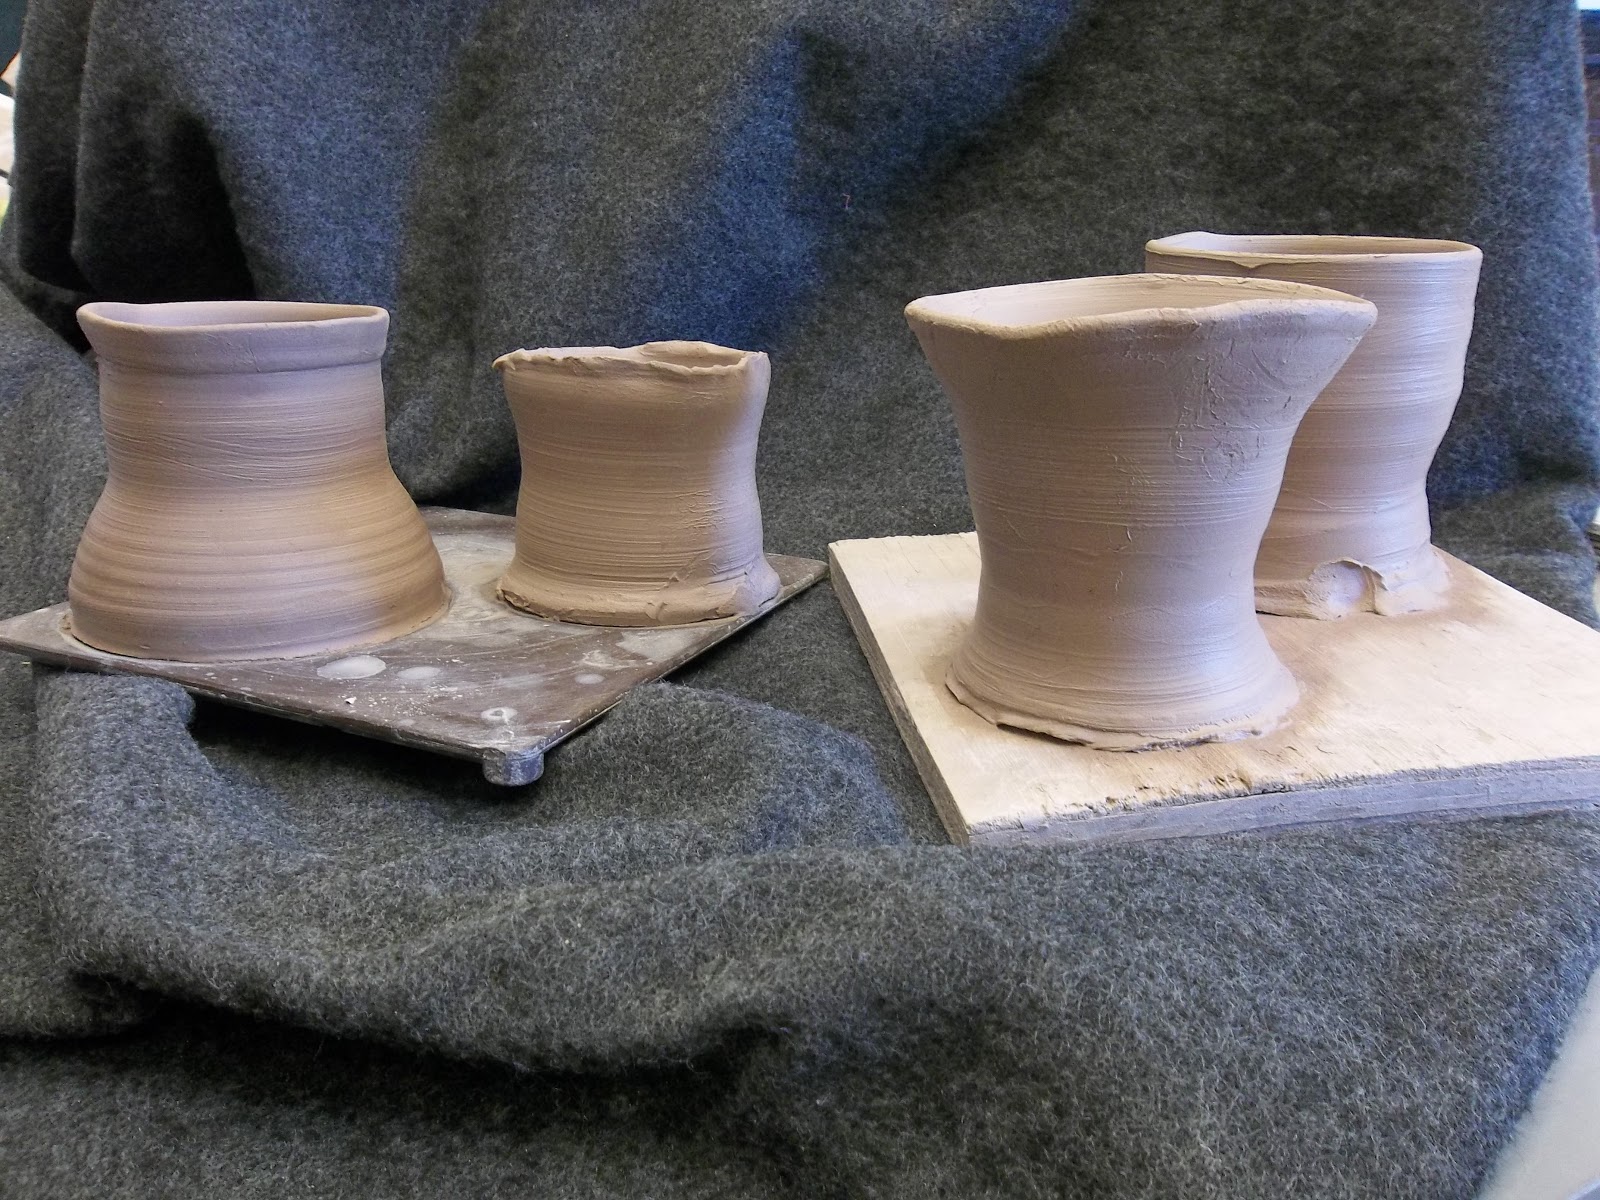 |
| Four of the six cups I need to finish. |
Monday, January 14, 2013
End of Semester 1
 |
| First Project |
This is from a blog post that I missed:
- leather hard- clay which has dried sufficiently to be stiff, but is still damp enough to be joined to other pieces.
- bone dry- clay that has completely dried out has not yet been fired. clay forms are most fragile at this stage.
It is important to connect and trim pieces on the wheel when they are leather hard because then they won't collapse while you are working on it.
For a picture of my coil pot, please follow this link https://www.facebook.com/photo.php?fbid=10151375560906749&set=a.122519721748.103539.665121748&type=1&relevant_count=1
Friday, November 16, 2012
Glazing Part 2

Friday, November 2, 2012
Glazing
I'm almost done with the glazing for my pinch pot it just needs a bit of fixing up so no pictures today. It's important to wash your hands and wipe the dust off of your piece before glazing because if you don't the glaze won't go on properly and won't seep into the piece like it's supposed to. When glazing your work it is always important to apply wax resist to your piece. If you are using a bucket glaze it is important to keep your piece in contact with the glaze for no more than one and a half seconds. You can't brush on a bucket glaze because it was formulated so you can dip your piece in it and if you try to brush it on it will not look right. I will hopefully have pictures of my pot soon.
Friday, October 12, 2012
Working on the Wheel
So I have started to work on the wheel. I have been working at it for about three or four days now. I feel like I'm starting to get better at bringing the clay up and down and also centering the clay but I'm still not very good at opening the clay. I've been trying to get the walls taller but it either keeps breaking or flaring out when it's not supposed to. So far working on the wheel has been fun but hard (and also messy!) my only concern is that I won't get my piece done in time.
Friday, September 28, 2012
Where are you today?
 | |
| front view |
 |
| back view |
 |
| birds-eye view |
So my piece is almost done! I just need to glaze it before the final firing. The design of the vase has changed some since I first envisioned it. I originally planned to have the front and the back be the same and not to have handles, but I think the changes I made make it look a lot better. The front still looks a bit rough and if I had time I would go back and smooth it out a bit. Overall I am happy with how the piece is turning out. I start the glazing process next week. More pictures soon. <3
Subscribe to:
Comments (Atom)